The Replacement Protocol, Step by Step
Below is the exact sequence Saxony Water Restoration technicians follow on a Category 3 sewage loss in Saxony. Each step has measurable criteria, not guesswork. Crews are dispatched within 2 hours of the initial call so the protocol can begin before secondary damage compounds.
Step 1: Site Safety and PPE Setup
- Don full PPE: nitrile gloves, P100 respirator, splash goggles, Tyvek suit, rubber boots.
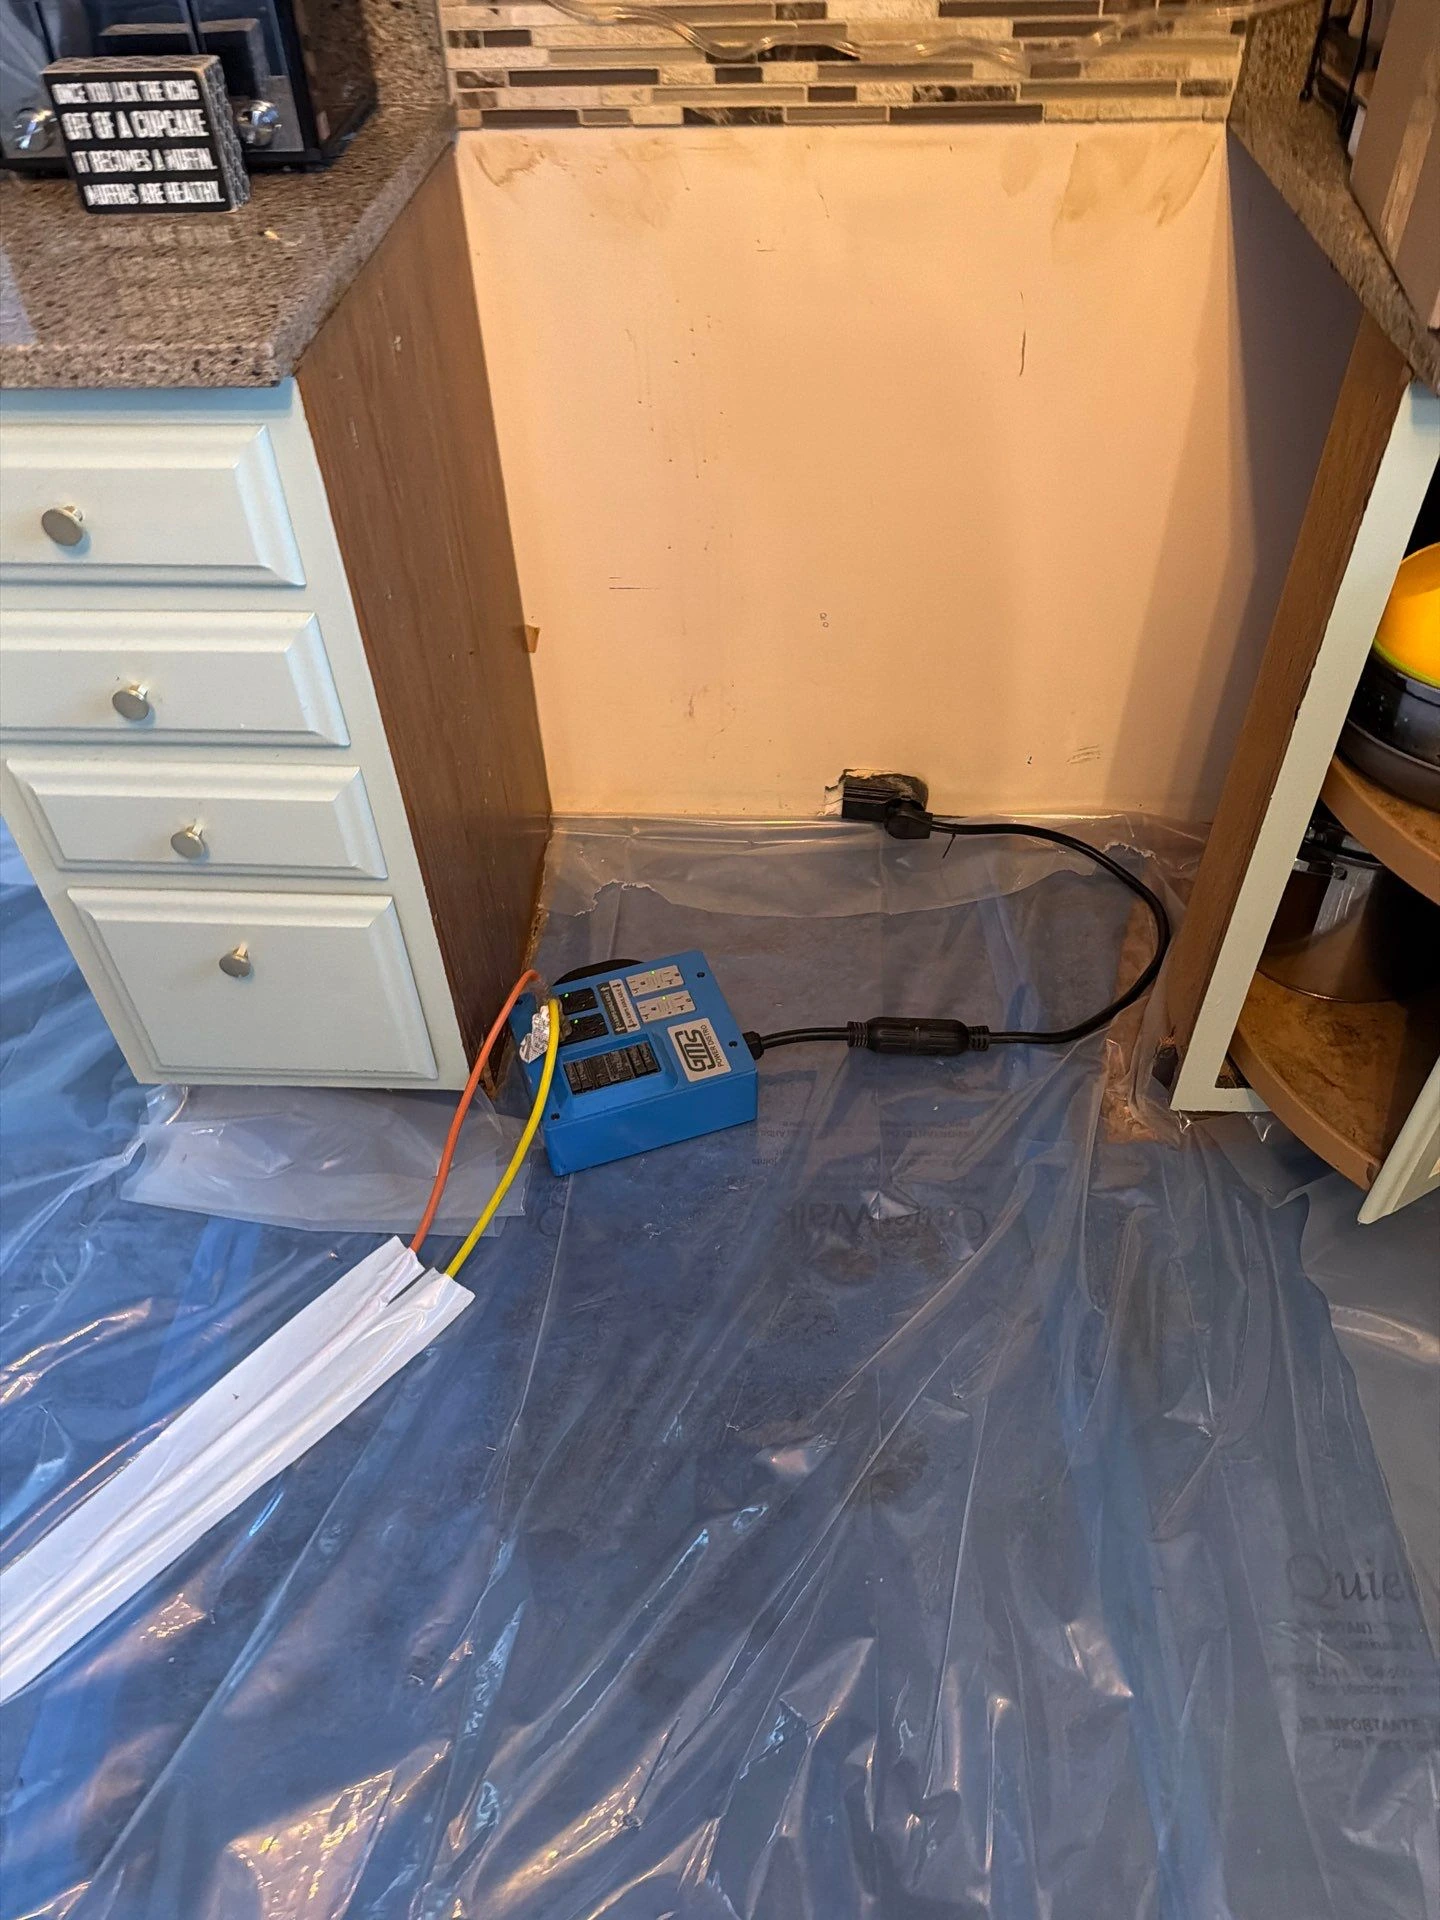
- Shut off electrical power to affected circuits at the panel.
- Verify gas appliance status if sewage contacted water heater bases or furnace pans.
- Establish a clean entry/exit path with 6 mil poly sheeting.
- Post hazard signage at all affected room thresholds.
- Stage a decontamination bucket at the exit for boot rinse and glove change out.
- Confirm occupants and pets are out of the structure for the duration of bulk removal.
Step 2: Source Control and Initial Documentation
- Confirm the backup source: main line, lateral, fixture overflow, or municipal surcharge.
- Stop active flow by closing the main supply or plugging affected fixtures.
- Photograph every wall, floor, and contents item before any removal.
- Map the water migration line using a moisture meter set to relative scale.
- Record ambient temperature (target 68 to 78°F) and relative humidity baseline.
- Note any cross contamination paths: floor registers, stairwells, elevator pits, or wall penetrations where sewage may have traveled out of sight.
Step 3: Containment Construction
- Build 6 mil poly containment around the affected zone with zipper doors.
- Install a negative air machine with HEPA filtration sized at 4 to 6 air changes per hour.
- Seal HVAC supply and return registers in the work zone.
- Verify negative pressure at minus 5 Pa relative to clean areas.
- Run a manometer log for the duration of demolition to prove containment integrity.
Step 4: Bulk Sewage and Solids Extraction
- Remove solids with shovels and contractor bags double bagged at 6 mil thickness.
- Extract liquid using a truck mounted unit or portable extractor rated for Category 3.
- Dispose of waste at a licensed facility, never down storm drains.
- Log waste volume in gallons for the insurance file.
- Pre treat the wetted footprint with an EPA-registered antimicrobial before the technicians return for demolition.
Step 5: Identifying What Must Be Replaced
Under S500 Section 12.2.5, the following porous materials in the affected zone must be removed and replaced, not restored:
- Carpet and carpet pad: 100% removal across the wetted footprint plus 12 inches.
- Drywall: remove to 12 to 24 inches above the highest waterline, or full sheet if saturation exceeds 24 inches. See our guide on how much drywall has to come out for the measurement method.
- Insulation: fiberglass batt, blown cellulose, and rockwool in contact with sewage are all replaced.
- Particleboard, OSB subfloor sections, and MDF baseboards: cut and replace.
- Upholstered furniture, mattresses, and pillows that contacted sewage.
- Paper faced products, books, and cardboard storage.
- Wood cabinets with sewage wicking above the toe kick if particleboard core.
- HVAC flex duct, filters, and any fiberglass lined trunk line in the affected zone.
- Acoustic ceiling tiles, even if only the back face shows staining.
Step 6: Materials That Can Be Salvaged
- Solid hardwood flooring if subfloor is accessible from below and moisture content reaches under 12% within 5 days.
- Ceramic tile with intact grout, after removal and disinfection of the substrate.
- Sealed concrete slabs, following two stage cleaning with detergent then EPA List N disinfectant.
- Solid wood framing and studs, if cleaned, treated, and dried to under 16% moisture content.
- Glass, metal, and hard plastic contents after detergent wash, rinse, and disinfection.
- Granite, quartz, and solid surface countertops with non porous seams.
- Stainless steel appliance bodies, after gasket and insulation inspection.
Step 7: Demolition and Controlled Removal
- Score drywall with a utility knife at the marked replacement line.
- Cut with a track saw set to 1/2 inch depth to avoid wiring and plumbing.
- Bag debris immediately at the point of removal in 6 mil contractor bags.
- Detach baseboard, shoe molding, and trim that contacted Category 3 water.
- Remove tack strip and staples from subfloor before disinfection.
- Mist cut edges with antimicrobial as they are exposed to suppress aerosolized contamination.
Step 8: Cleaning and Disinfection
- Apply detergent solution to all remaining hard surfaces. Agitate with stiff brush.
- Rinse and extract residue.
- Apply an EPA-registered Category 3 disinfectant at label dwell time, typically 10 minutes wet contact.
- HEPA vacuum framing cavities before drying equipment goes in.
- Wipe stud faces, joists, and subfloor with the same disinfectant.
- Treat sill plates and rim joists, the two areas most often missed on basement losses.
Our sewage cleanup service documents each chemical, batch number, and dwell time on the daily work log.
Step 9: Structural Drying
- Set air movers at 1 per 12 to 16 linear feet of wall surface.
- Install LGR dehumidifiers sized at 1 AHAM pint per 30 to 50 sq ft of wet area.
- Target equilibrium: 30 to 50% RH, wood at under 16% MC, drywall at under 1% MC by pinless meter.
- Record daily readings at the same grid points for 3 to 5 days.
- Reposition air movers every 24 hours so flow patterns rotate across wet cavities.
Step 10: Post-Remediation Verification
- Visual inspection by a second technician against the original scope.
- Moisture mapping confirms dry standard at all monitoring points.
- Surface ATP testing optional for verifying disinfection effectiveness, with passing readings under 30 RLU.
- Air sampling if mold growth was visible before remediation. Review pre versus post remediation air testing for clearance criteria.
- Final photo set documenting cleared substrate ready for reconstruction.
Step 11: Reconstruction Handoff
- Confirm framing moisture content under 16% before any new insulation.
- Install new vapor barrier where original existed.
- Replace drywall, tape, mud, prime, and paint.
- Install new baseboard, flooring, and trim sized to original specifications.
- Provide the homeowner with a complete file: photos, meter logs, chemical SDS, and disposal manifests.
Step 12: Insurance and Compliance Documentation
- Compile the daily work log with technician initials and equipment run hours.
- Attach moisture mapping grids for each calendar day on site.
- Include the dump ticket or manifest from the licensed disposal facility.
- Provide line item Xactimate estimates aligned to the S500 scope of replaced materials.
- Submit the post remediation verification report as the final clearance document.
- Retain a copy in the Saxony Water Restoration project archive for a minimum of 7 years for warranty and liability reference.
Step 13: Homeowner Walkthrough
- Review every replaced and salvaged item on a printed inventory sheet.
- Demonstrate the moisture readings on remaining framing using the same meter.
- Hand off care instructions for new flooring, paint, and any sealed surfaces.
- Explain the 30 day post job inspection window included with the Saxony Water Restoration workmanship guarantee.
- Provide a single point of contact for any follow up odor, staining, or moisture concern in the Saxony service area.